iNTRODUCTION
This part of the workshop, in my opinion, will involve most work and movement. A jump animation includes movement of the arms and legs, and maybe a bit of the head and body.
Character Jump cycle

A jump animation needs build up/anticipation before taking a jump. Some video games add a delay to their jump animations, so this means you’d need to have more prediction as when to jump.
Jump cycles can happen from previous animations such as standing still, running/sprinting, or from crouching to standing into jumping.
Once again the starting frame and ending frame for a jump animation should be the same. The middle frame, from the reference above, seems to be the highest point in the animation.
We can see from this animation process that the body recoils a bit like a spring and stretches out to complete the jump and highest point. The movement of the body follows a similar principle as the stretch and squash animation principle we learnt about in the beginning of this workshop.
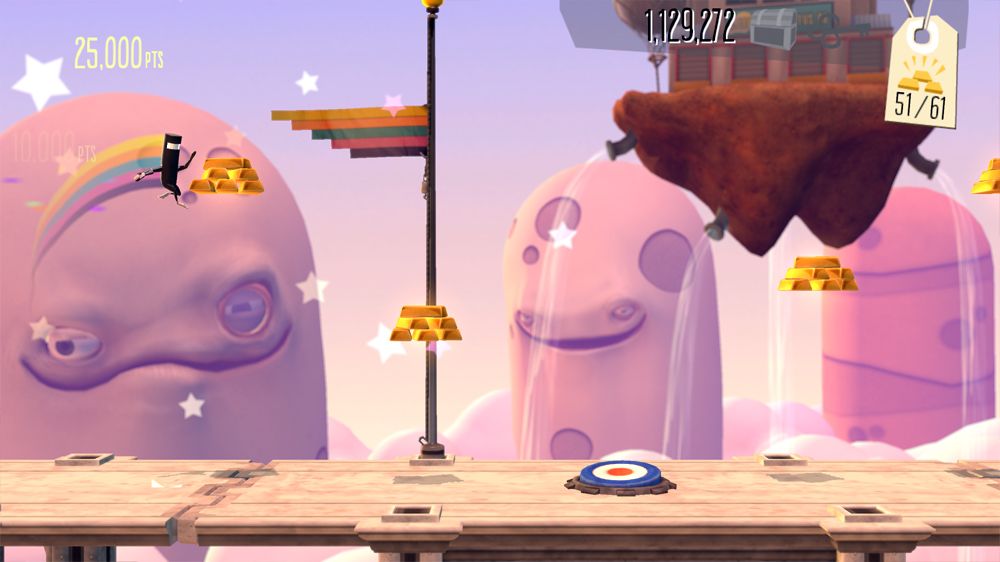
This example of a jump animation is very exaggerated however, the jump is relatively high whereas some jump animations can be quick, short and small – judging more on the game you’re making.

An old video game I used to play called Bit. Trip Runner features a 2D world where you move at a fast pace through maps that have obstacles in your way, gradually getting more and more frequent.

Here is the falling animation for the character. And the jumping animation;

They later made a second game, with 3D assets and environment. However, it was still played from the same perspective as the first game to allow for a similar feel between both games.
Here is a bigger jump animation for the character:

This image references how the character builds up for a jump in their legs and their arms, then releases that energy to push themselves off of the ground. During the jump sequence, the feet are loosely held up before hitting the ground again and the impact is absorbed into the legs, as the character regains a ready position.
For some video games, characters will have other ways to jump, or objects and equipment such as Jetpack Joyride, a mobile game:

This is a similar playstyle to flappy bird when it was popular. Each ‘flap’ was essentially a jump to keep it alive.

Before taking the jump, our character needs to have some build up in his movement. For this, we are going to bend his knees and arch his body forward so he can lean into the jump before taking it.
We need to determine whether to move the arms up or down for the first few frames of the jump animation. The movement and placement of the arms can contribute to the momentum of the jump.

Experimenting with the arm positioning, moving one arm back and one arm forward to help balance and shift the weight of the character as they jump. Then, we tried to move the back arm further backward too, as if his arms are forcing himself forward as he jumps.

His front leg needs stronger placement on the ground so we use the puppet pins to rotate and reposition his feet.

As he leans forward, his knees bend more – hence why is back leg is more bent and his toes are coming inwards.
Adding some delay to the animation for the cape, we can make it move up and out slightly from the body as the movement and air around it pushes it up.

Our character is getting very close to jumping and taking his first step off the ground. As he moves more forward, we need to make some slight adjustments to the orientation of his legs and feet. Here we are curving his toes up more:

We are adding more puppet pins to the body, so when the character ‘crunches’ forward for the jump, we have more manoeuvrability in the neck and torso area.

To enhance the jump cycle, further into the frames we move the front leg more forward and the back leg further back to give the character a bigger leap or jump and have more force and movement in the jump cycle. We also introduced the element of squash and stretch to the head, however due to how fast the jump cycle is – this isn’t very noticeable. The head tilts up as it reaches the highest point.


We decided to make the arms swing forward rather than backwards as the jump cycle continues. This was a fairly simple process, we just needed to bring both arms forward and bend them at the elbows.

conclusion
In conclusion, after consideration of the 12 animation principles we have learned, I have learned a bit more about the idea of animation and how to use After Effects to rig a character.

However I don’t think I’ll be able to remember the process that well alone, so coming back to this blog might be very helpful for me. I also don’t enjoy animation which made this entire process harder for me, I believe it is much easier to do something and do it good if you enjoy it.
This is a large blog as I have combined one blog with another, we went through each possible animation cycle for the character we created.
